1. The first thing that you will need to do is get photo editing software.
- Adobe Photoshop- http://www.adobe.com/products/photoshop/compare/ - probably the best photo editing software but it also comes with a pretty steep price tag.
-GIMP- http://www.gimp.org/ - This is a great program that has all of the tools you need and it is FREE. Works with Windows/Mac/GNU/Linux
-Seashore- http://seashore.sourceforge.net/The_Seashore_Project/About.html - Another free program that has all the tools you will need.
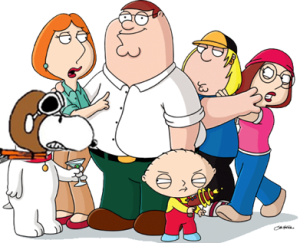
2. Select the photographs we want to use for the face swap. Pick photos that share the same characteristics so that you don't need to do as much work to the photos. i.e. looking the same direction, face is same size in photo, same skin tone (Here I picked Snoopy and Brian because they have white bodies and a similar shaped head).
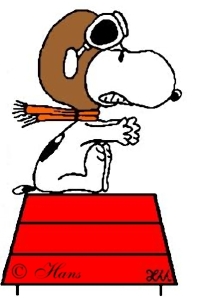
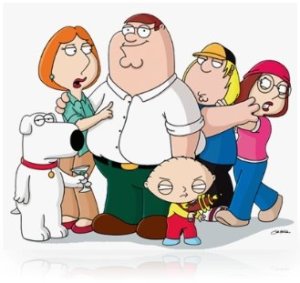
3. The next step after both photos are opened up is to select the lasso tool or free select tool as its called in gimp. In whatever program you are using it will look like this.
You will also want to make sure you have the Feather edges feature selected if you have the option. Once you have the lasso around the area of the face you want to transfer you will want to copy it (go to edit--->copy or control + c ).
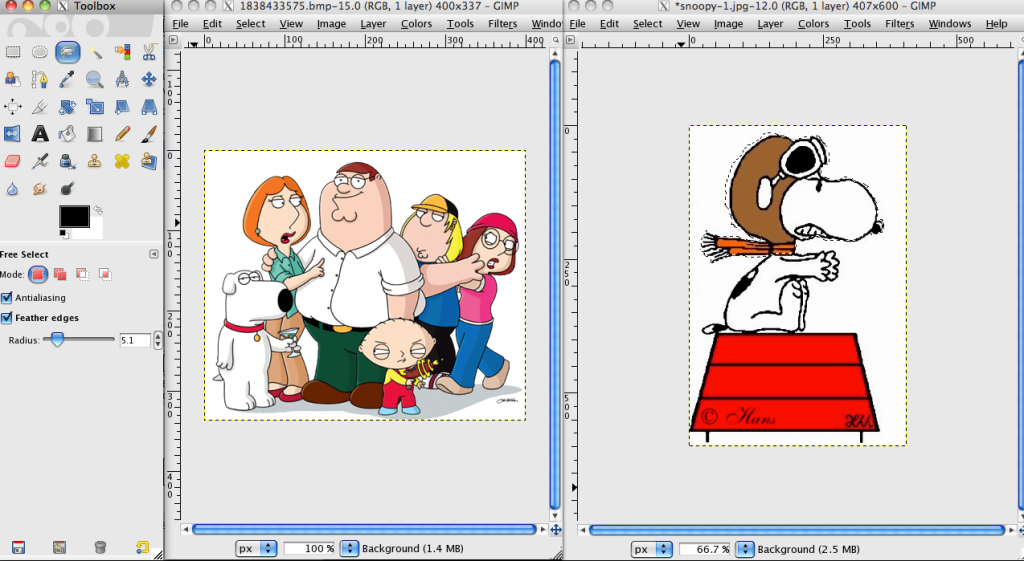
4. Its time to paste. Go to the photo you want to put the face on and add a new layer (layer --->new layer or shift + control + N) then paste (edit--->paste or control + V) the lasso section from the other photo.
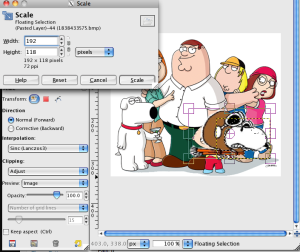
5. Lets make some adjustments now. Even if you used photos that are well matched you will probably have to make some adjustments to the rotation, size and color of the face you just swapped.
If the face you are swapping is not the right size use the scale tool
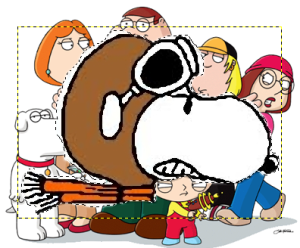
If the face needs to be at a different angle use the rotate tool
If the face is the wrong color try messing around with the hue/lightness/saturation and the brightness/contrast
:
:
:
Here are some videos that will help you out a lot more. It is easier to watch it done before trying it yourself.
Using GIMP part 1 - http://www.youtube.com/watch?v=BafertvtNnc&feature=related
Using Adobe Photoshop - http://www.youtube.com/watch?v=hb6lFBPV_4k
Neat
ReplyDeletewhoa, thanks. I am looking for this one.
ReplyDeletecool
ReplyDeleteThanks! This is really cool! Face swaps are my favorite!
ReplyDeleteBrian is snoopy.
ReplyDelete